In Our Last Blog Post of Home Lab Series we have already gone through the environment we are working on Part 1 and also seen the installation of DC in Part 2 and Esxi in Part 3.
It's Time to Proceed further with the Step By Step Installation and Configuration of Open filler another VM we need for our Home Lab.
Most of the activities we will be performing post our infrastructure is ready needs shared storage, so i created a VM and allocated few CPU and Memory resources and good amount of disk size and mounted Openfiler ISO on Virtual machine.
Openfiler provides a simple way to deploy and manage networked storage. Installing Openfiler results in a powerful networked storage solution that exports your data via a full suite of industry standard storage networking protocols. Openfiler lowers deployment and maintenance costs for networked storage without compromising functionality or performance.


2 ) Understanding the GUI of Openfiler


4 ) Creating a Partition


Refer Openfiler Administration guide for more information
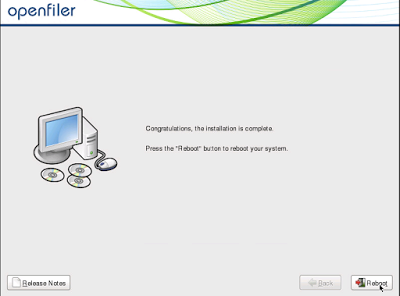
It's Time to Proceed further with the Step By Step Installation and Configuration of Open filler another VM we need for our Home Lab.
Most of the activities we will be performing post our infrastructure is ready needs shared storage, so i created a VM and allocated few CPU and Memory resources and good amount of disk size and mounted Openfiler ISO on Virtual machine.
Openfiler provides a simple way to deploy and manage networked storage. Installing Openfiler results in a powerful networked storage solution that exports your data via a full suite of industry standard storage networking protocols. Openfiler lowers deployment and maintenance costs for networked storage without compromising functionality or performance.


Once the installation is complete follow the URL to open GUI of Openfiler.

1) Log in to the url we captured post installation of Openfiler using the username as openfiler and password as password.

2 ) Understanding the GUI of Openfiler

3) Configure Network Access and update the changes

4 ) Creating a Partition

5 ) Enabling the iSCSI Target
Refer Openfiler Administration guide for more information
No comments:
Post a Comment